
Making a Robot, part 3
Moving on to the Leader Robot, things get a bit more complicated

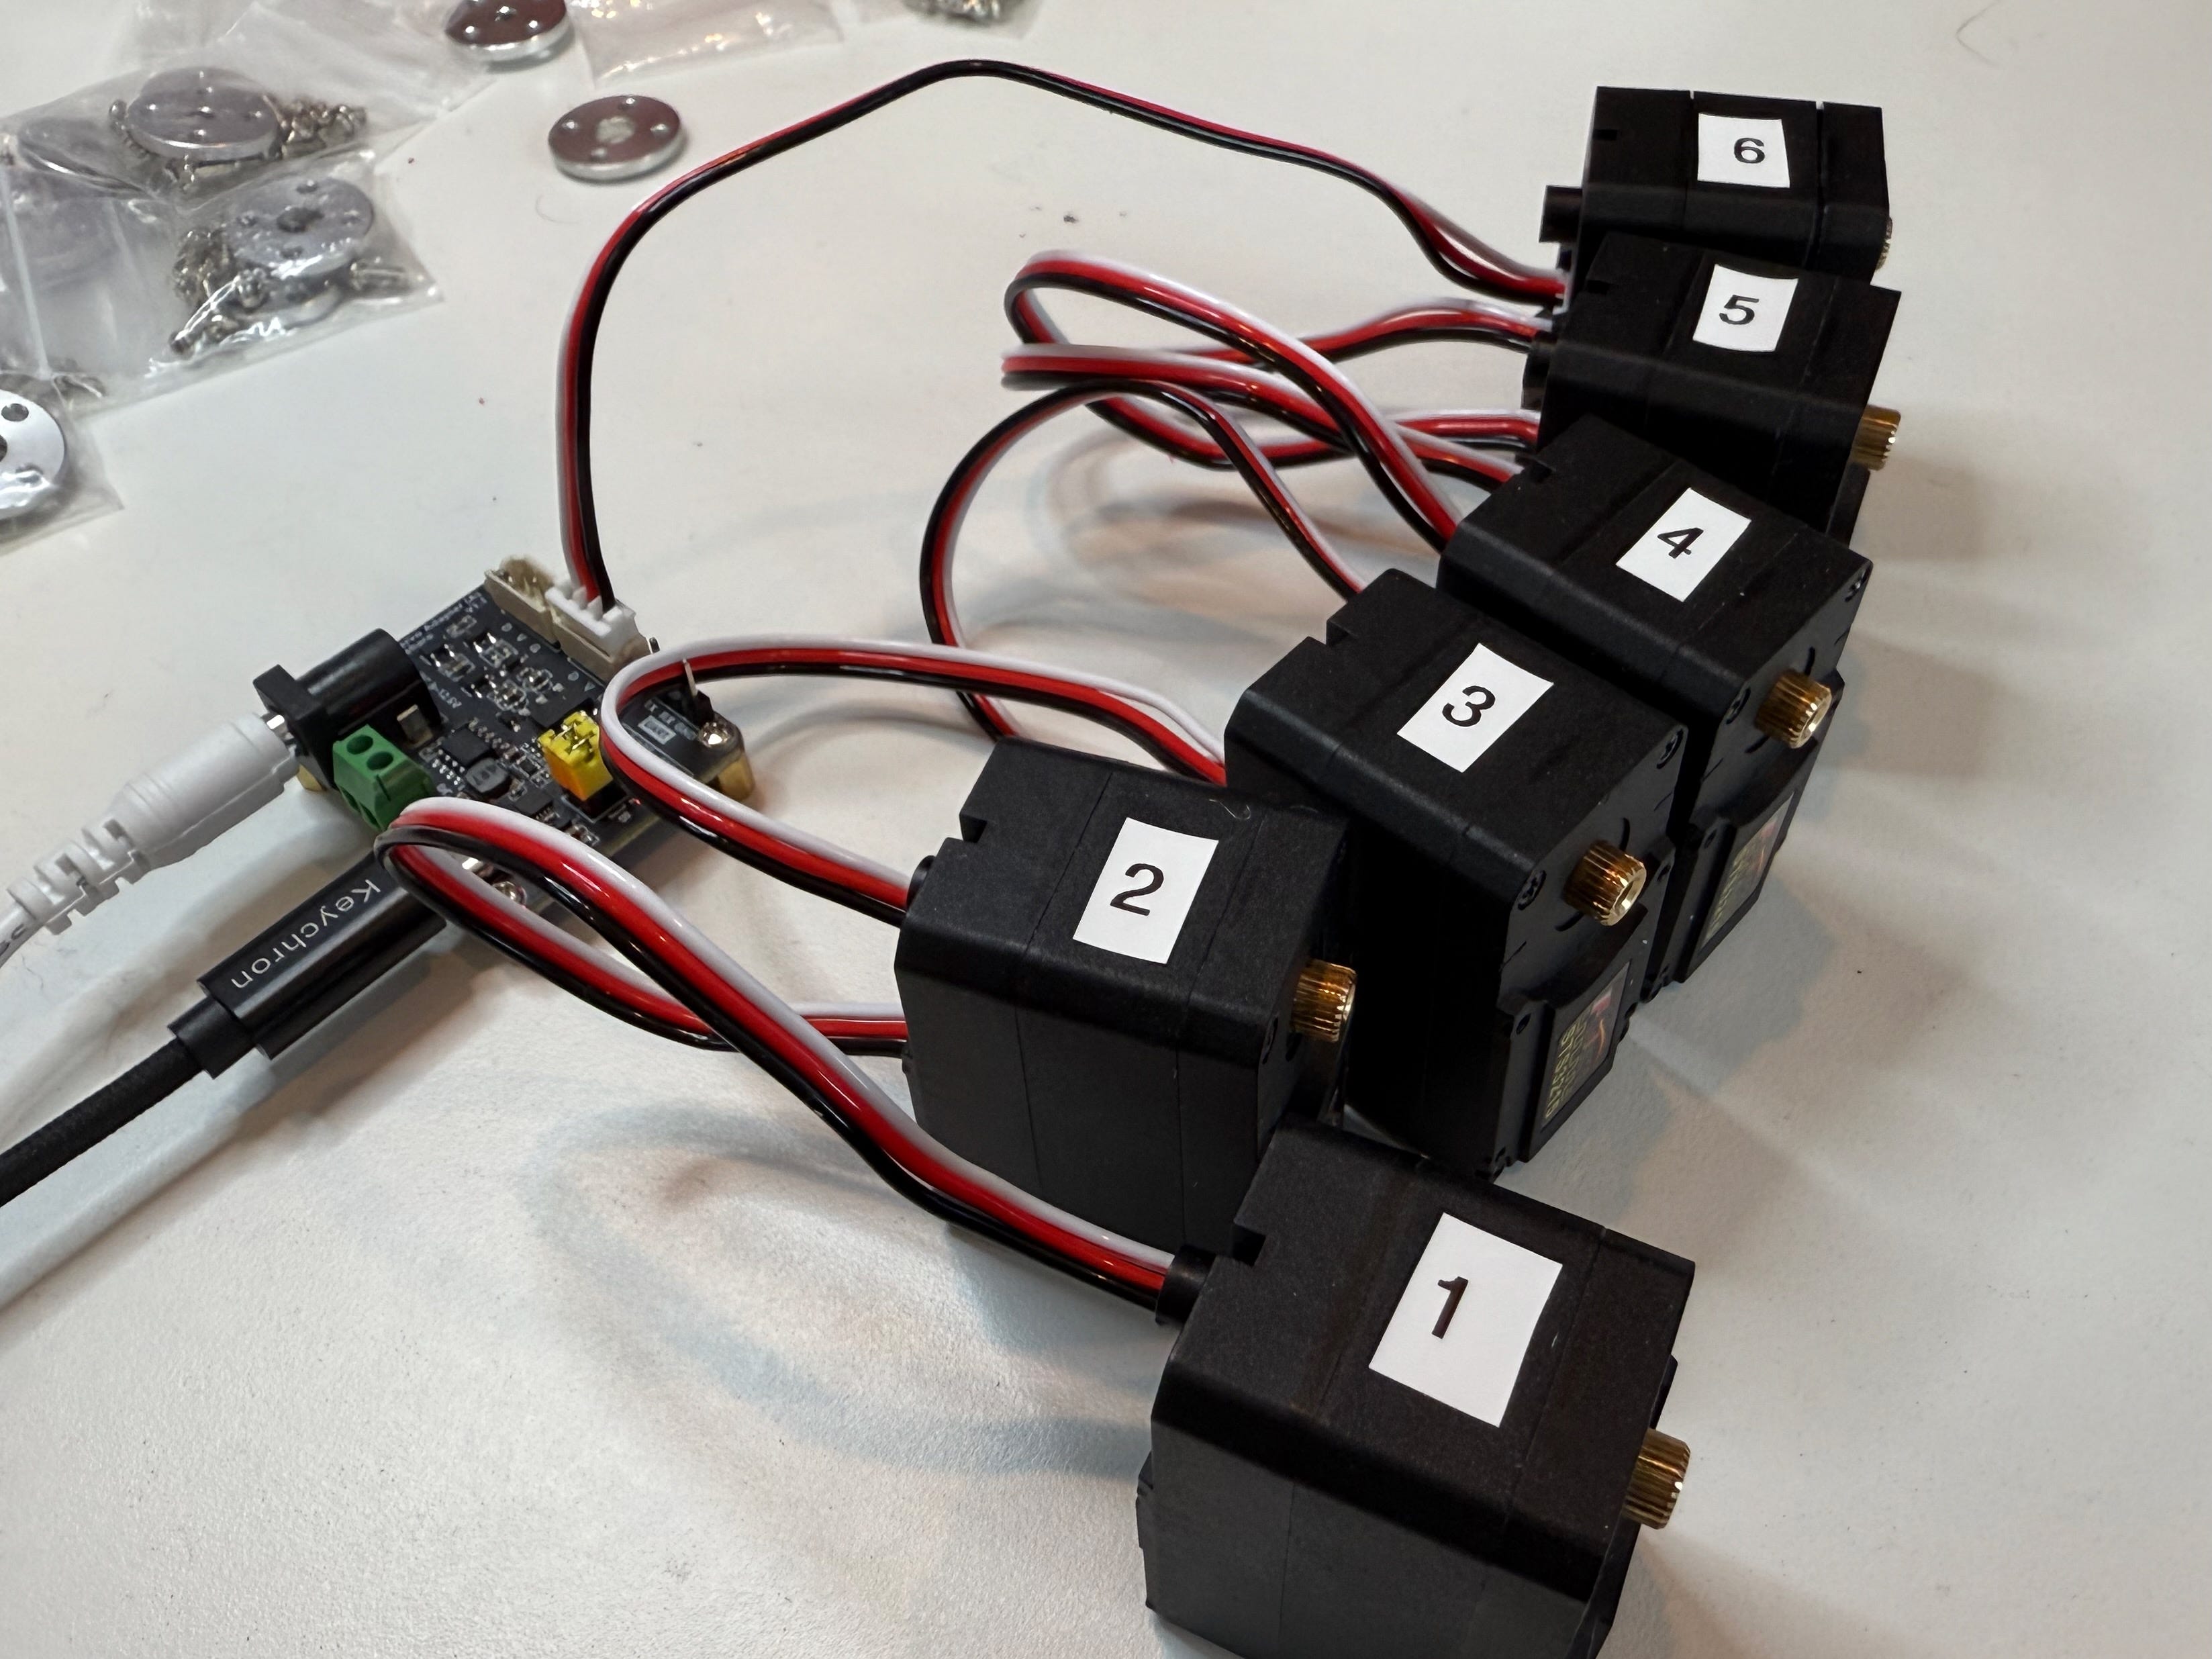
Now for the Leader arm. The first step in the video is exactly the same as the Follower arm, which we did already. The Hugging Face folks want me to do this after downloading their Python package, which I’ll have to do later anyway to get the thing to run the AI programs I want to run. But I can’t be bothered right now and the first step is just to set the IDs to unique numbers (1 through 6), same as before. So I'll just do that. Also to put the “motor horn” on in an aligned position after centering the drive shaft at position 2048, and screwing it down.
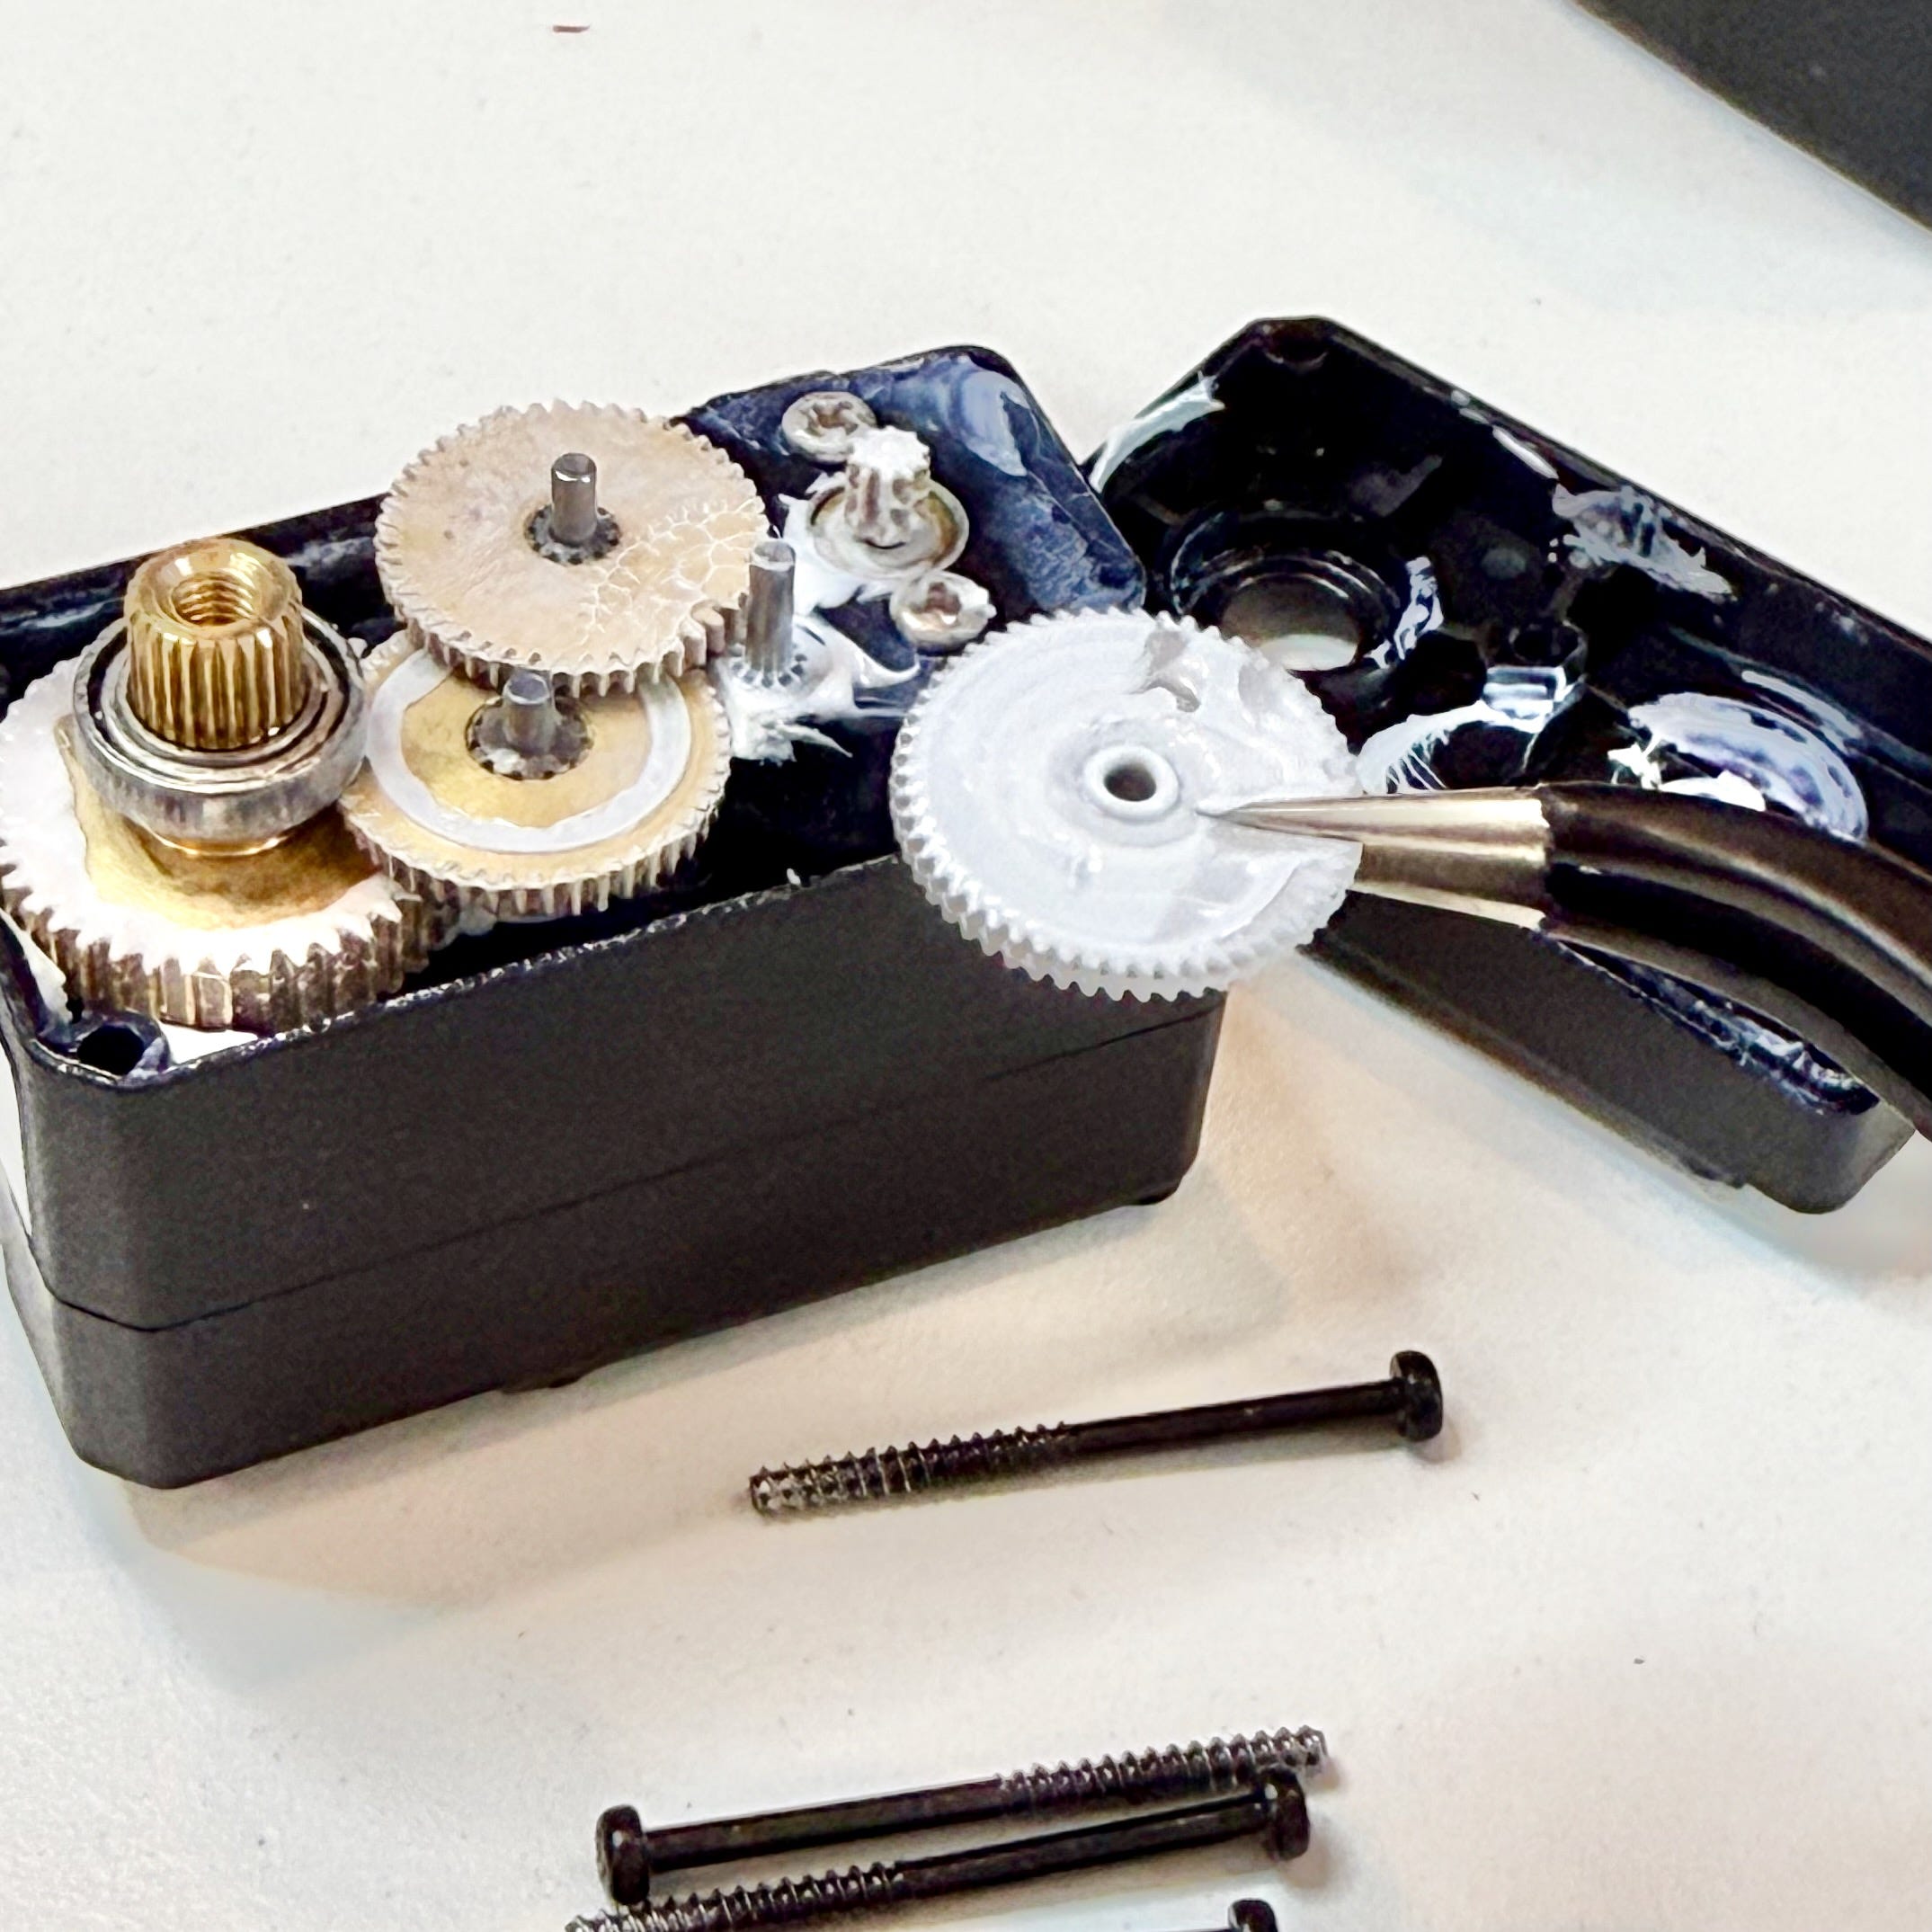
Second step is to remove the top-most gear from the Leader arm servos. This is pretty simple since each servo has a screw on the corner (a long black one) and the gears just lift off their posts.
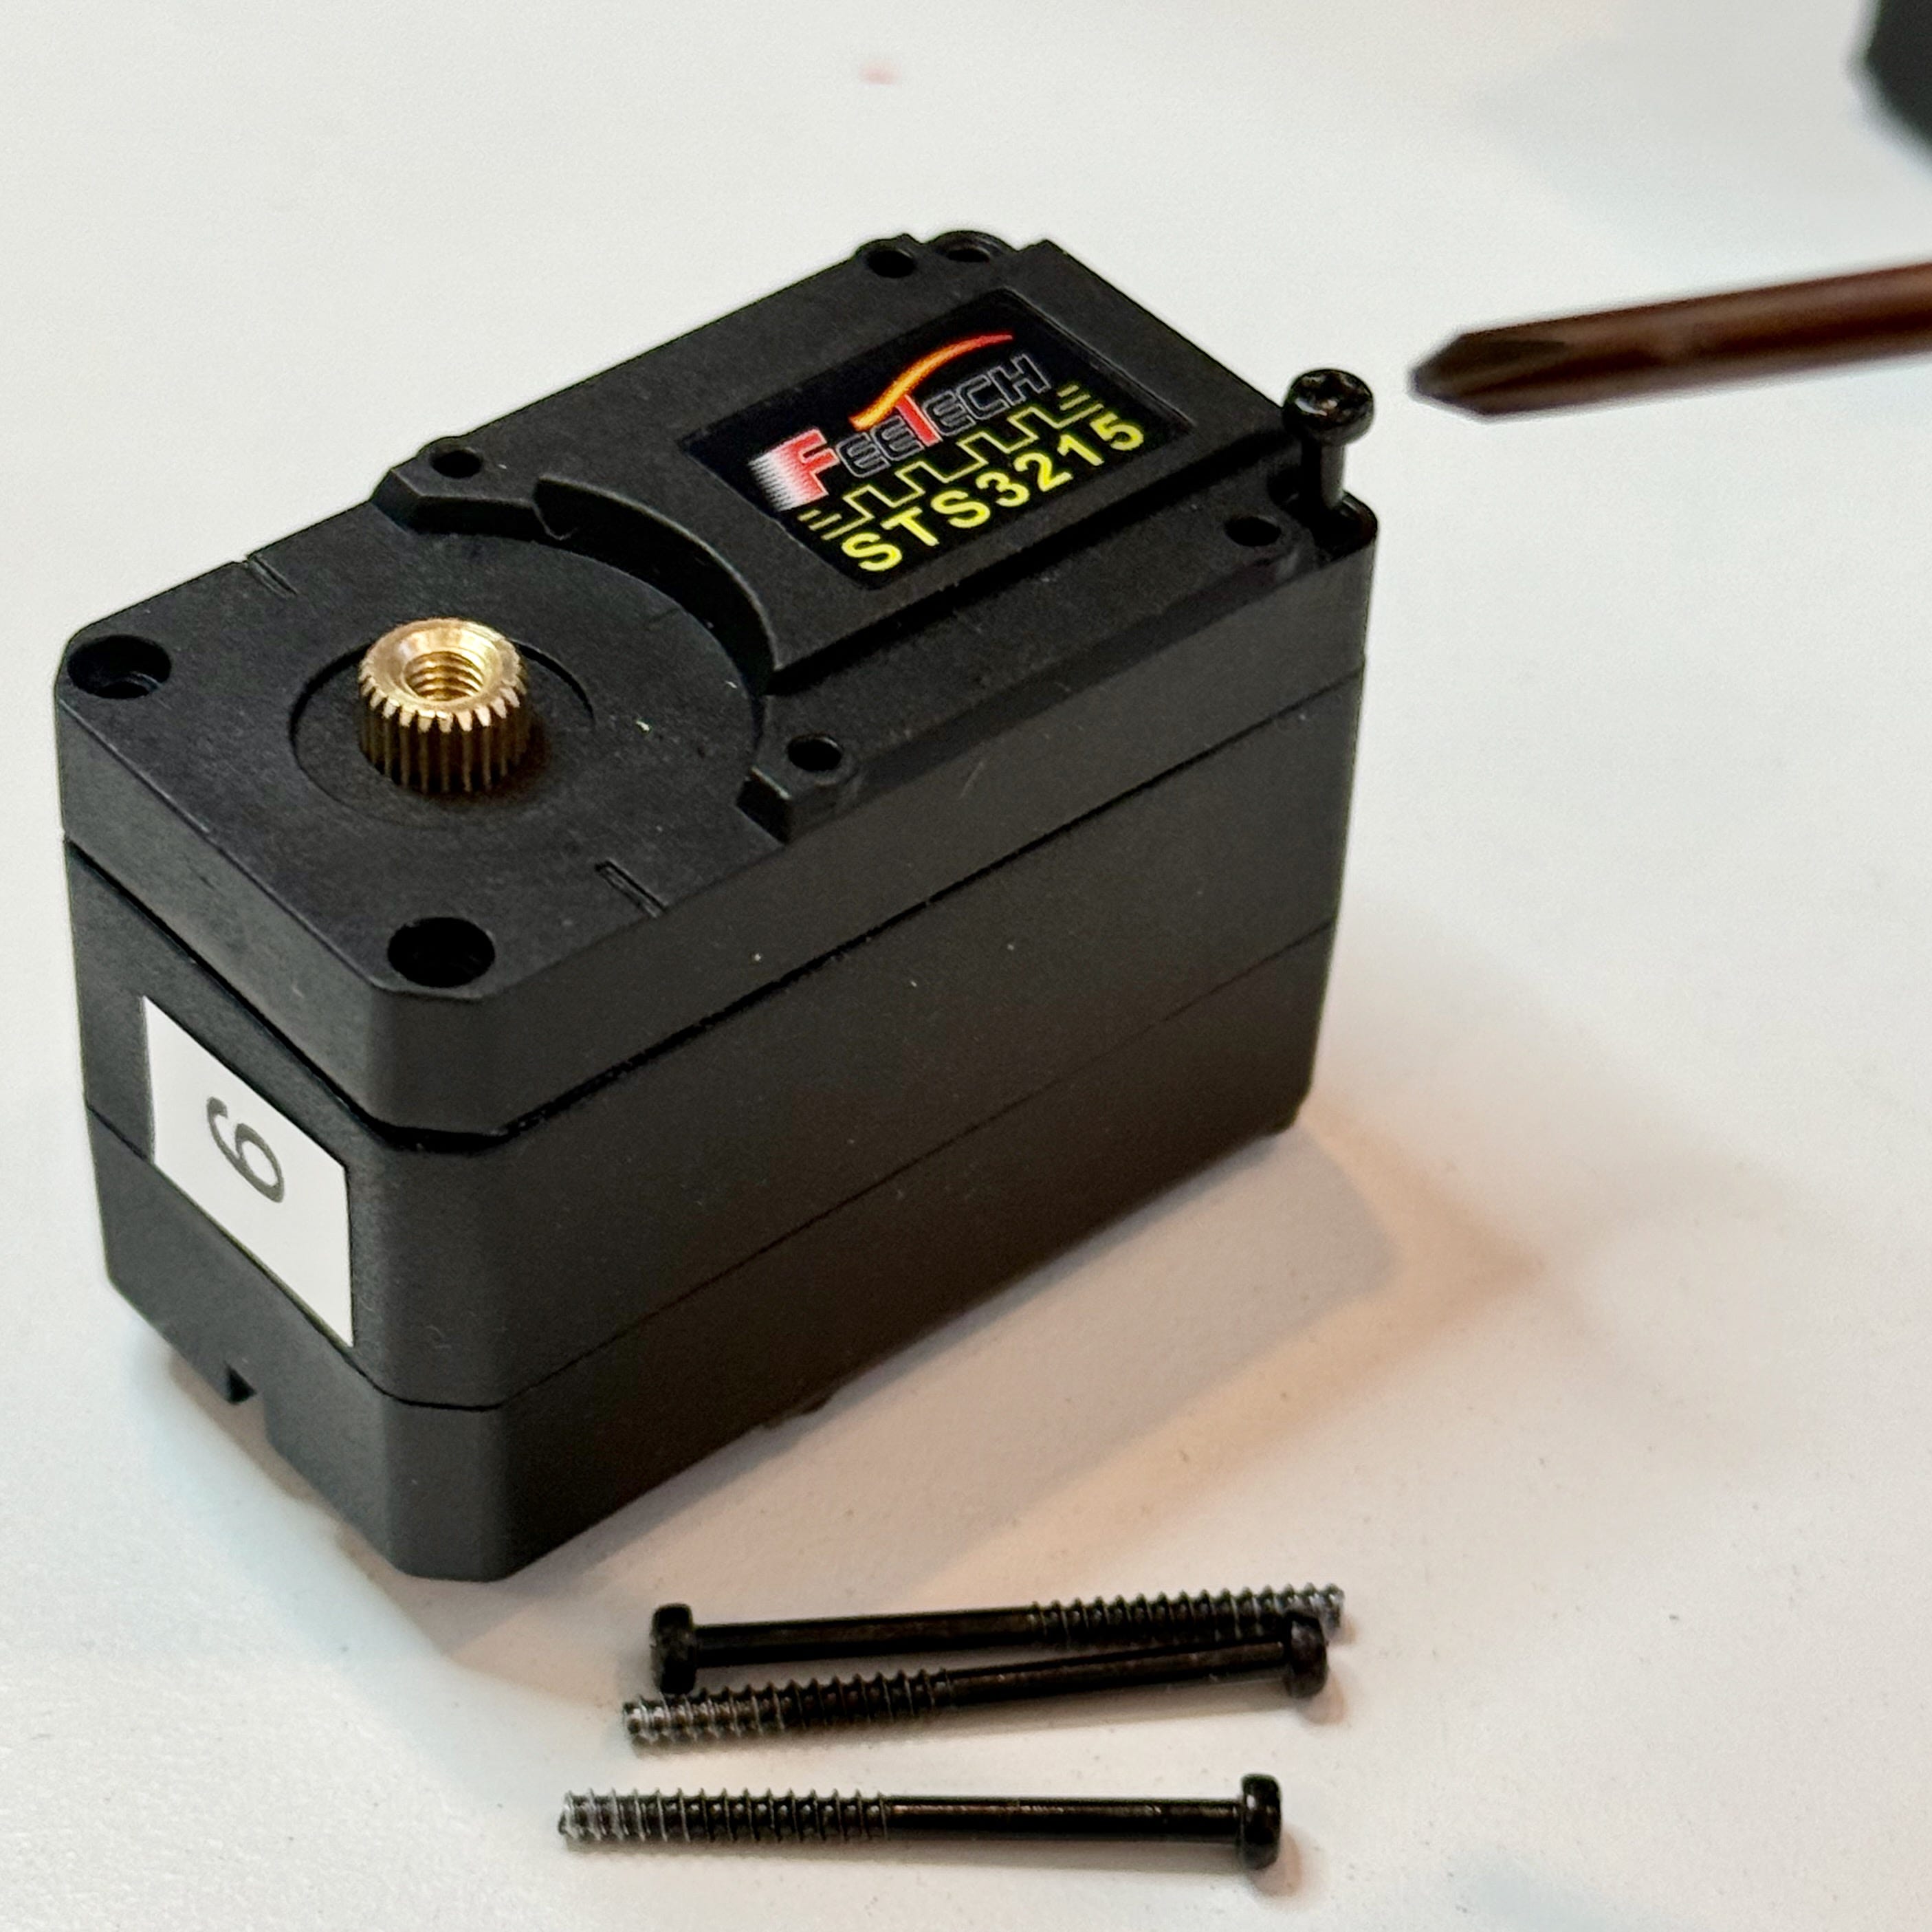
I'm saving them because for my next build I may want to have six other servos and may want to drive with them, so I'll put the plastic gears into a box and of course never open it until four or five years from now when I'll wonder what they are. But I'll save them anyway because YOU NEVER KNOW.
This, dear reader, is why I still have my Palm Pilot from 2003, along with several flip phones and their charging cables, plus the original iPhone.
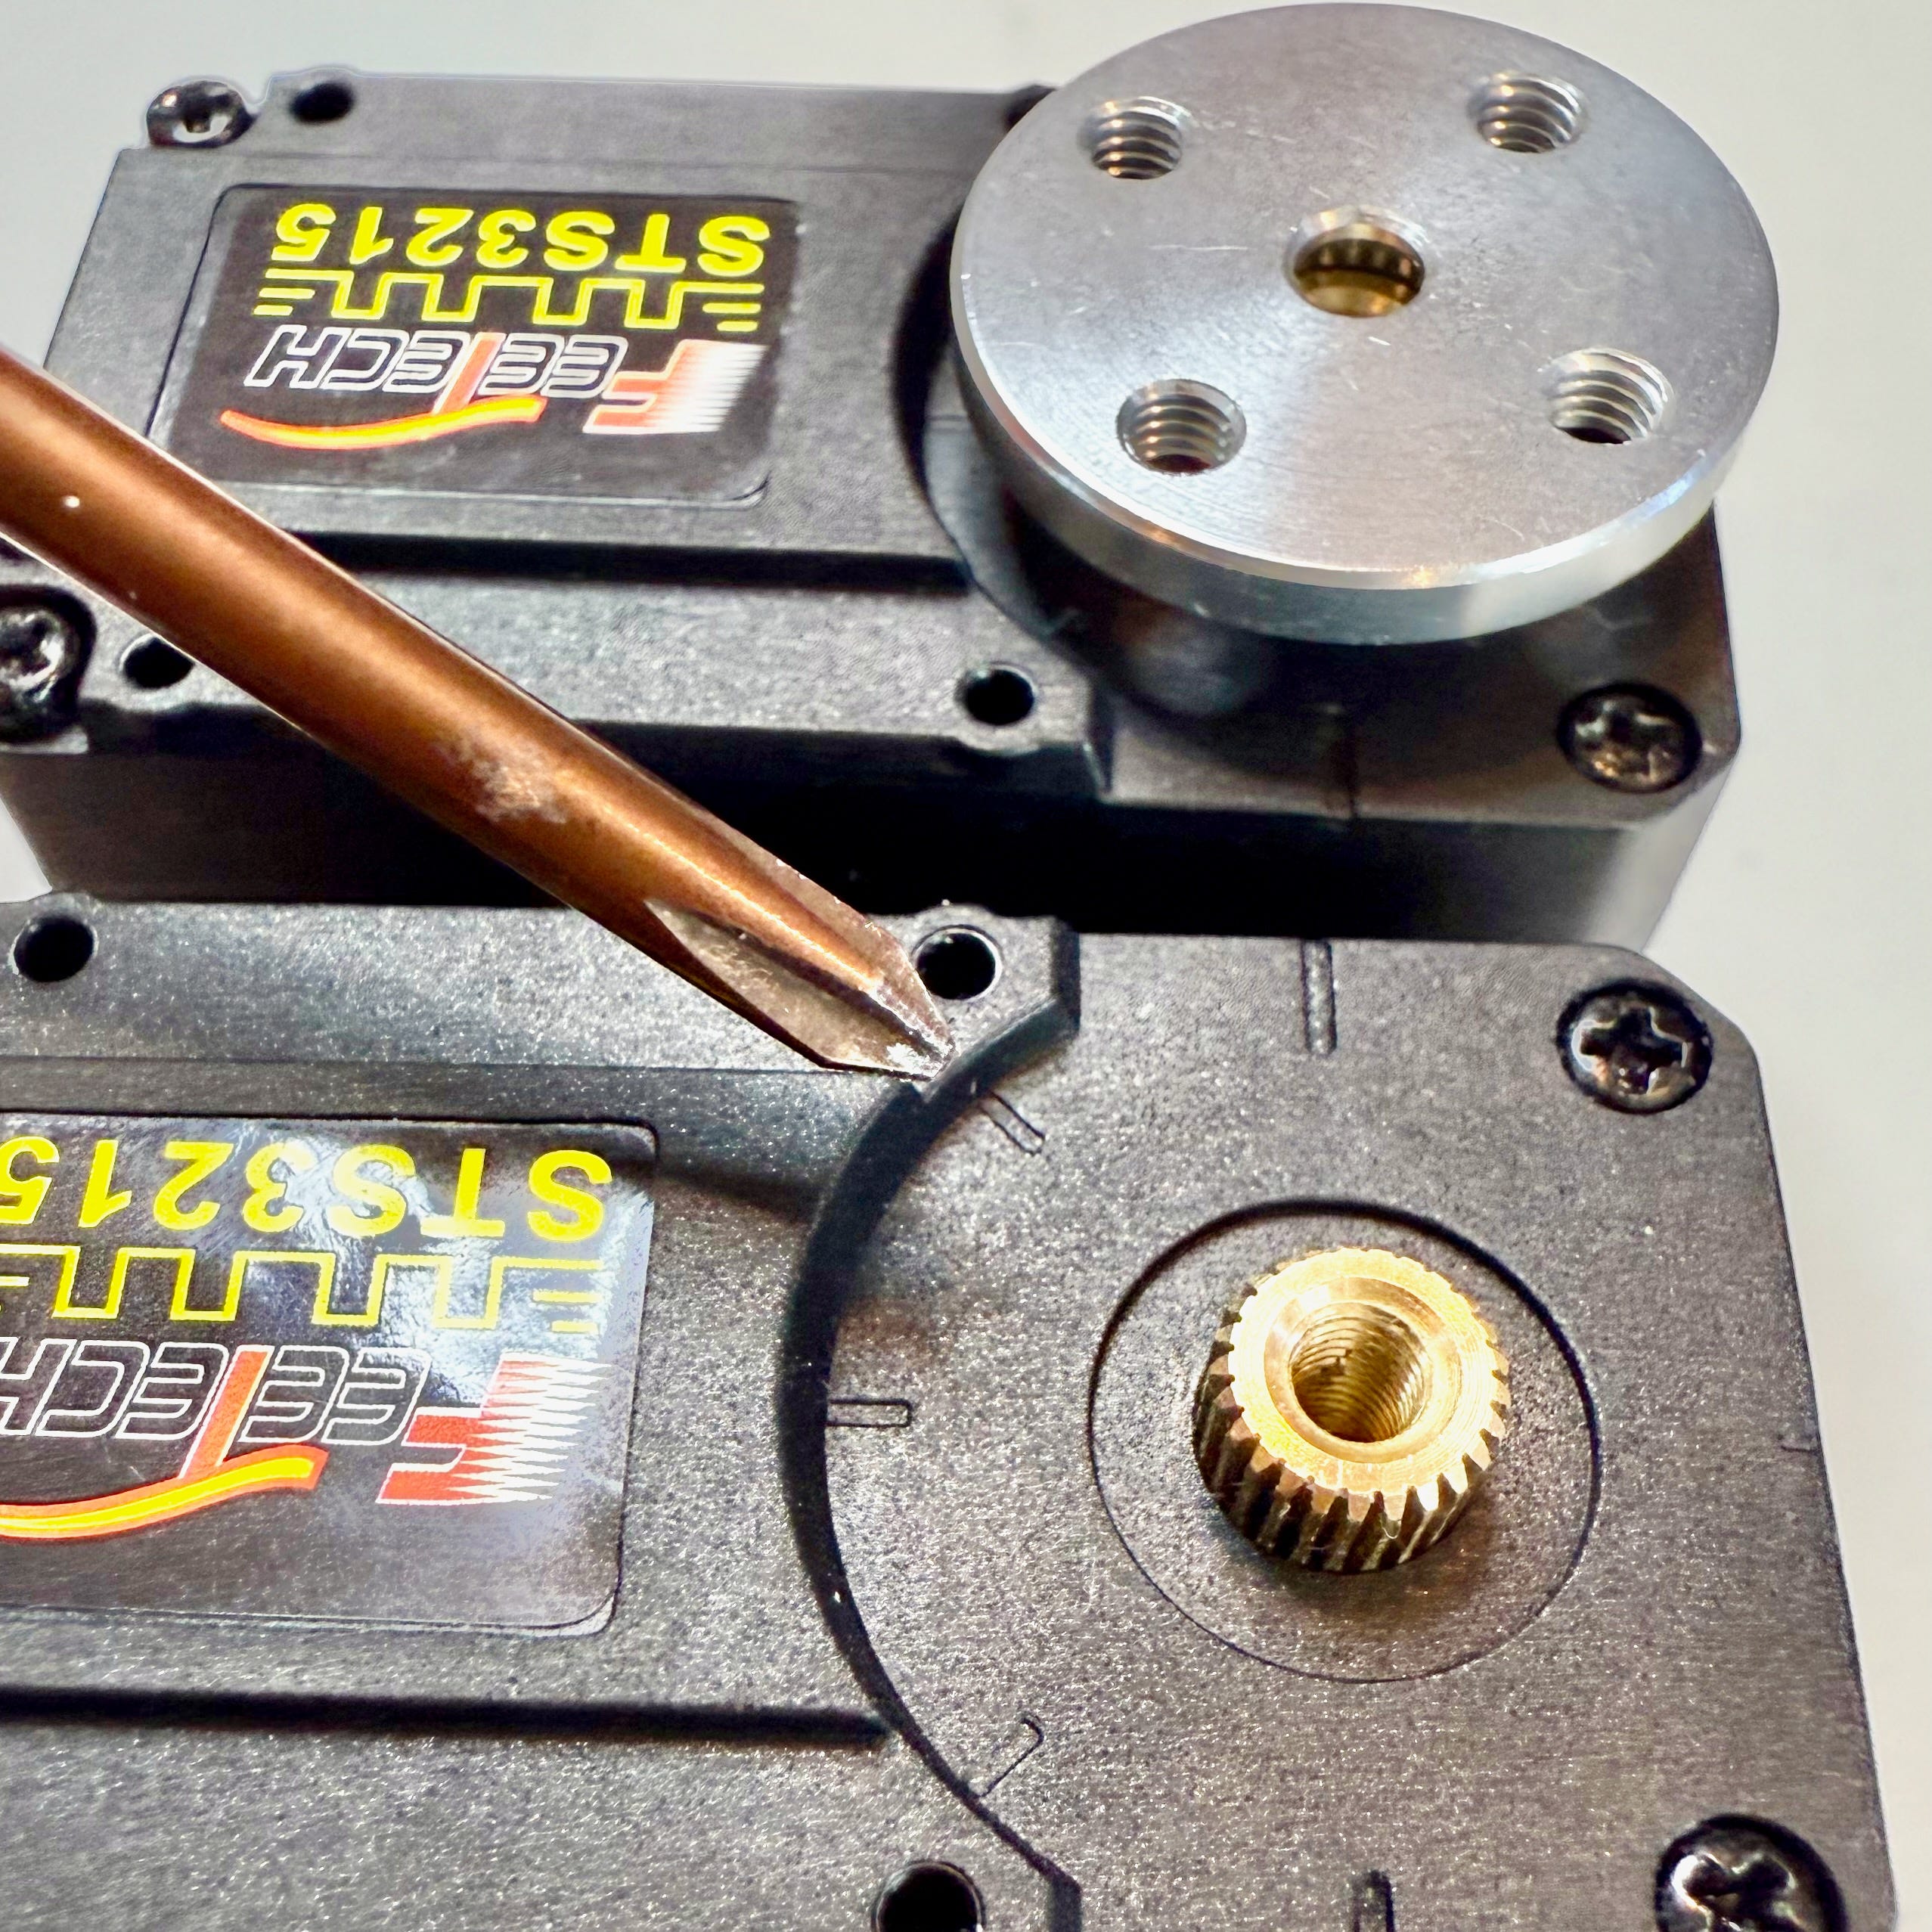
After the servos are all set up with unique IDs and the top gear is removed, the next step is to make sure the drive horns are positioned and locked down with a screw in the center. The case has a little notch at the intermediate positions (10:30 or however you want to describe it; maybe NW?) and the instructions are to put the four screw holes in those coordinates. Not sure why this matters, but hey whatever. The tricky part is that now that the servo has a gear missing, the drive horn isn’t connected to anything and will spin freely. So do your best.
Now it’s time to assemble the servos and the plastic parts into an actual robot arm. The Hugging Face video has a lovely animation showing how the parts fit together, but it’s pretty obvious when looking at a picture of the finished product. The parts aren’t all that similar except for the two main sections with Servos #2, 3, and 4. But those two aren’t identical, so you’ll figure it out pretty easily.
Sometimes you’ll want to connect the leads before pushing the servo into the part for the arm. Servo #3, for example, has a pretty tight clearance between the lower arm part and the ports for the wire leads. Others are actually impossible, like #5 which I had to detach the drive horn from the spindle before it would slide into the “wrist” piece. But you’ll figure it out.
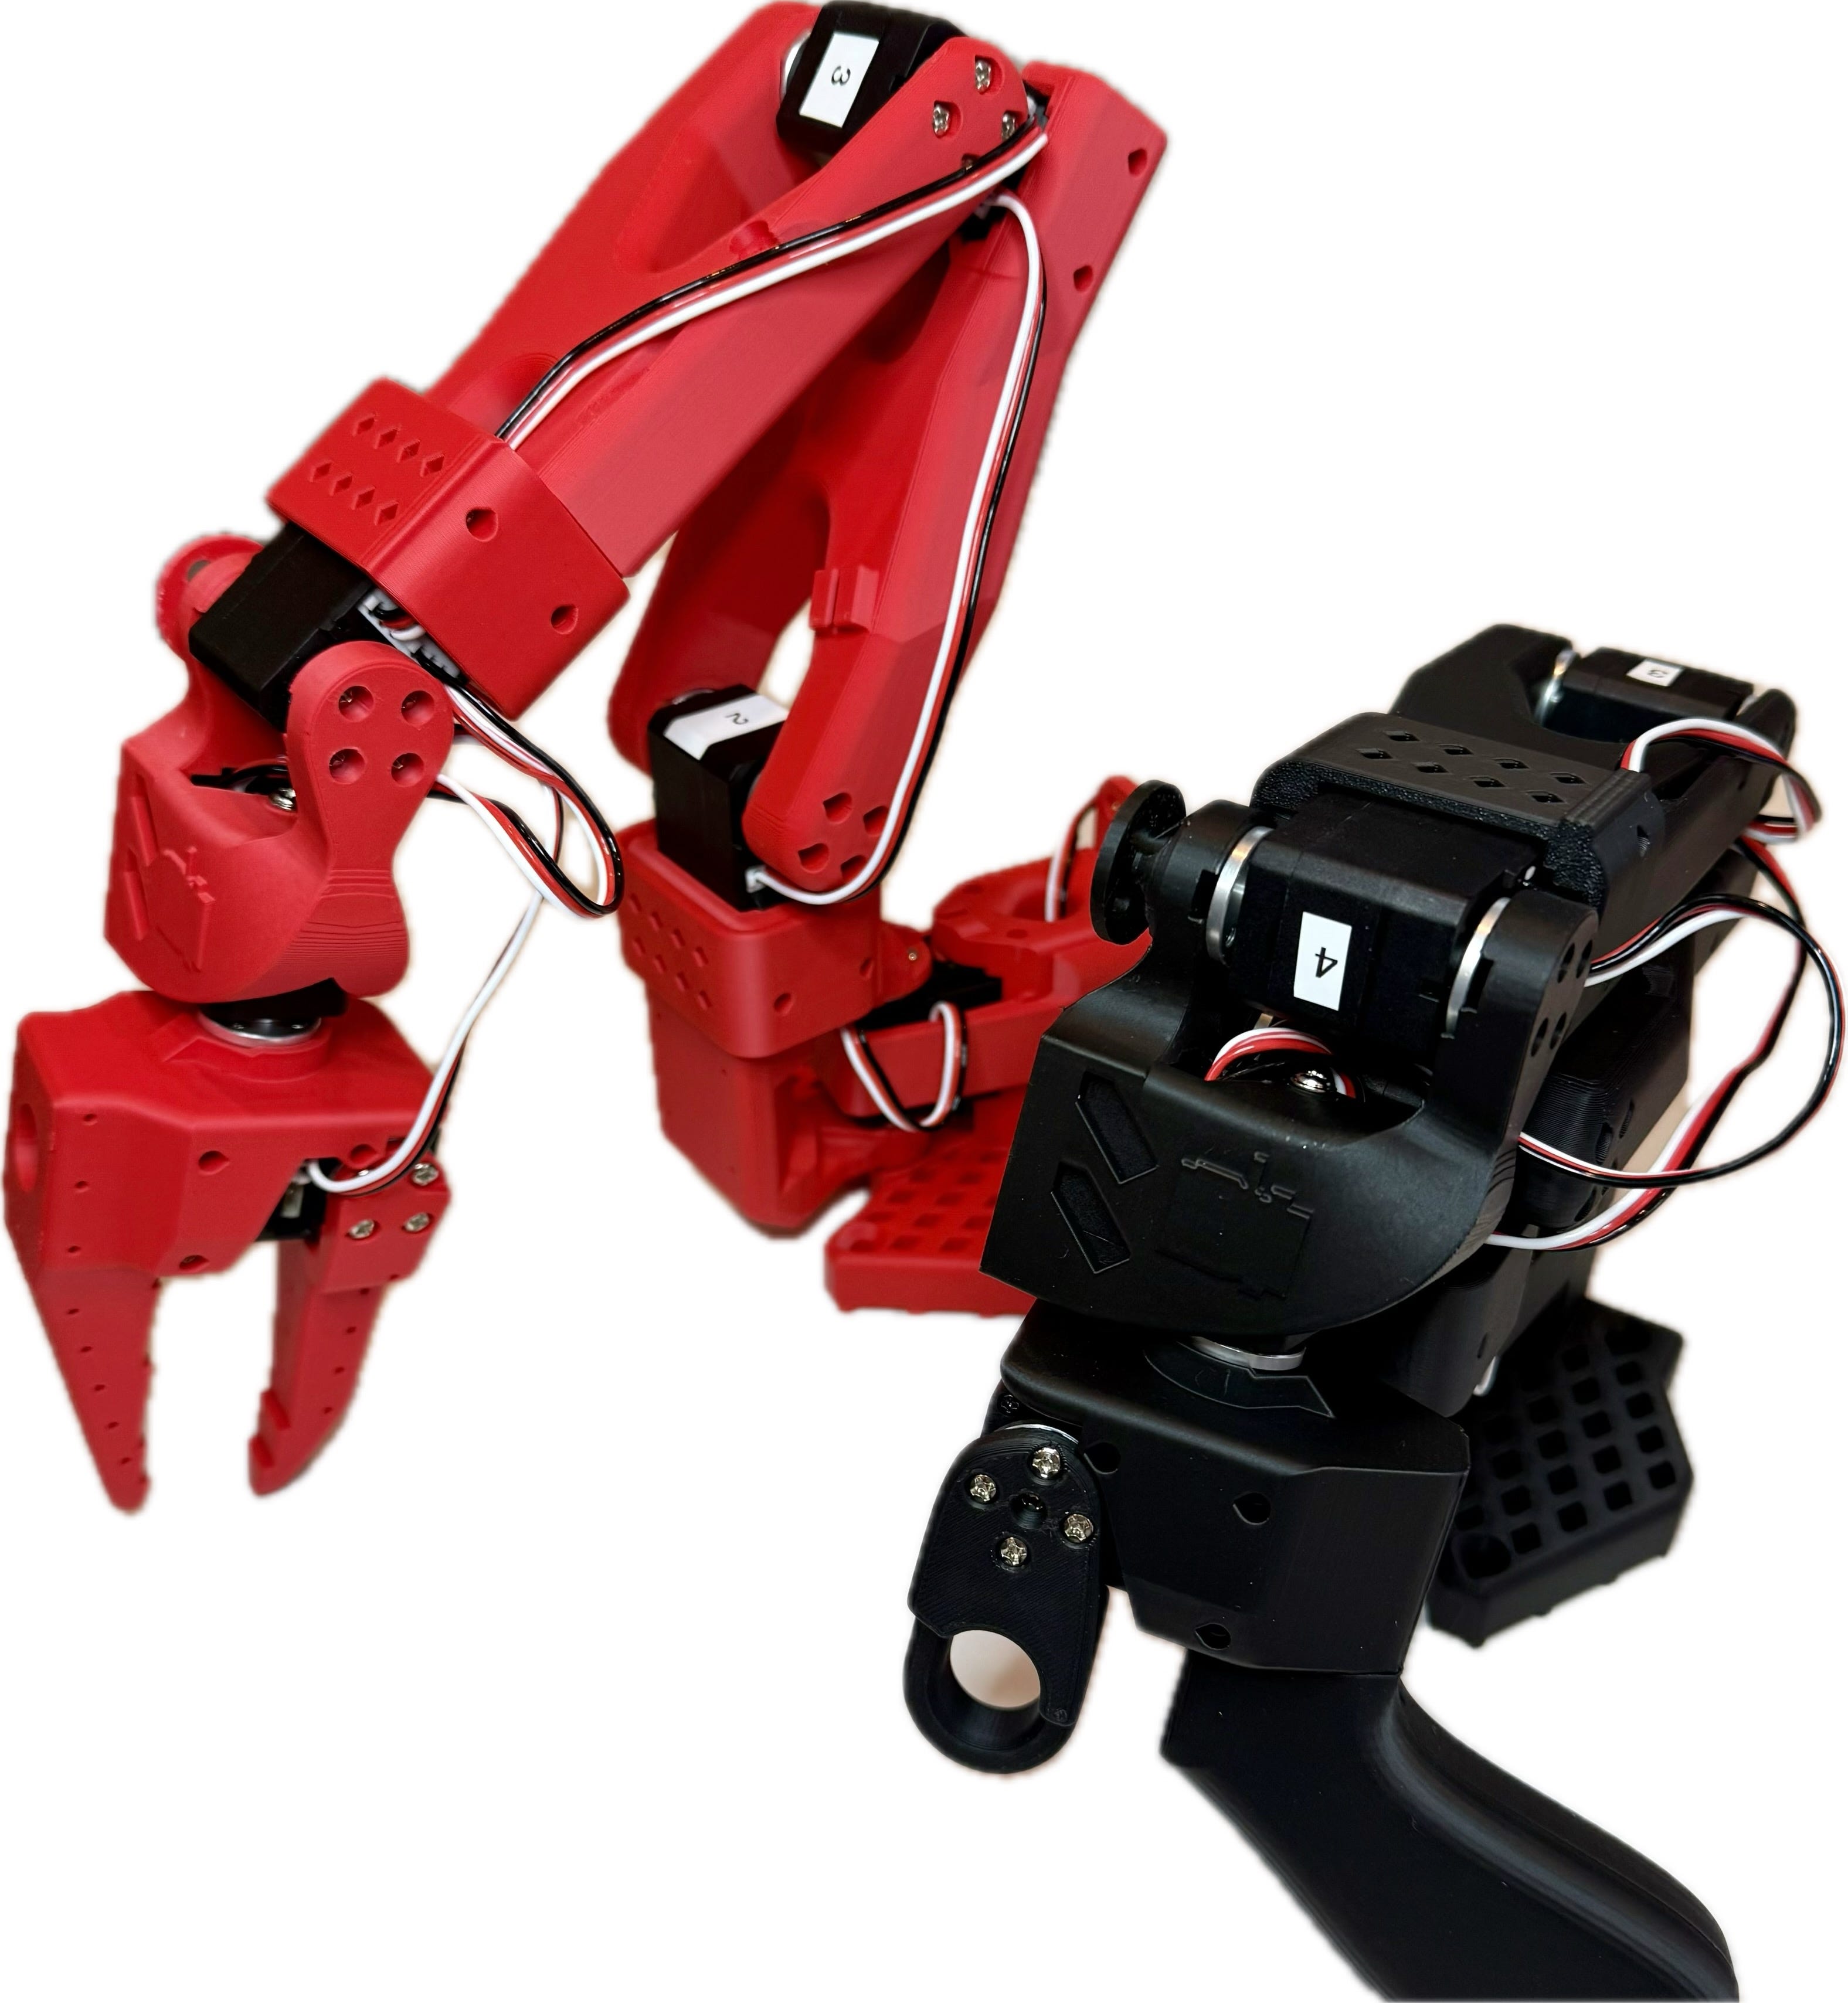
Ta-da! Leader arm is black, with the pistol grip handle and the Follower arm is red.
Once it's all together, move on to the next step: Calibration. You'll need the Hugging Face software package for that.